
Deploying a Tezos smart contract to Alphanet
In this tutorial we'll learn how to deploy a smart contract to the official Tezos Alphanet, utilizing Granary's built in tezos-client.
In order to run example commands in this tutorial, you will have to install Granary.
Configure the Alphanet client
Granary uses a local network known as sandboxnet by default, however in this tutorial we'll be deploying our contracts to a testing environment known as the Alphanet. In order to interact with it, we need a Tezos node running first - we'll use a remote publicly available node for this tutorial.
First step is to configure granary:
# Initialise granary
granary init
# Switch the network
granary config set network "alphanet"
# Initialise a client for the given network above
granary client init
Selecting a public Alphanet node
We're going to use TzScan's Alphanet node, but you may choose to use any other publicly/locally available Alphanet node if you'd like.
More information about TzScan's public nodes can be found here.
granary config set tezosClient.networks.alphanet.nodeAddr "alphanet-node.tzscan.io"
granary config set tezosClient.networks.alphanet.nodeRpcPort "80"
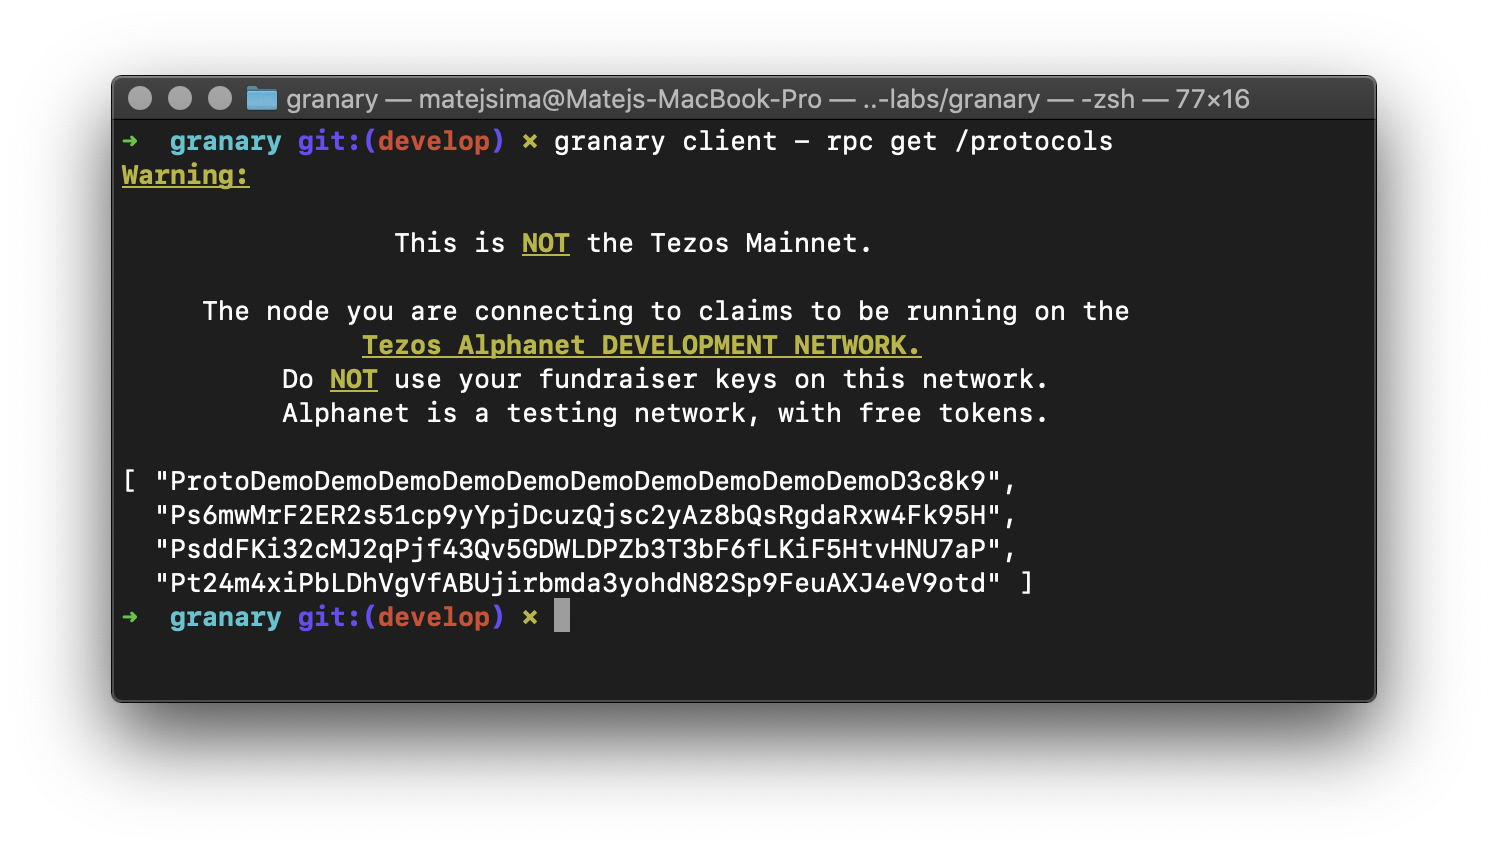
To test that we have configured the client correctly, let's run a simple RPC request:
granary client - rpc get /protocols
Now that we're successfully connected to the Alphanet, let's acquire an identity/wallet that we can use.
Obtaining an identity / wallet
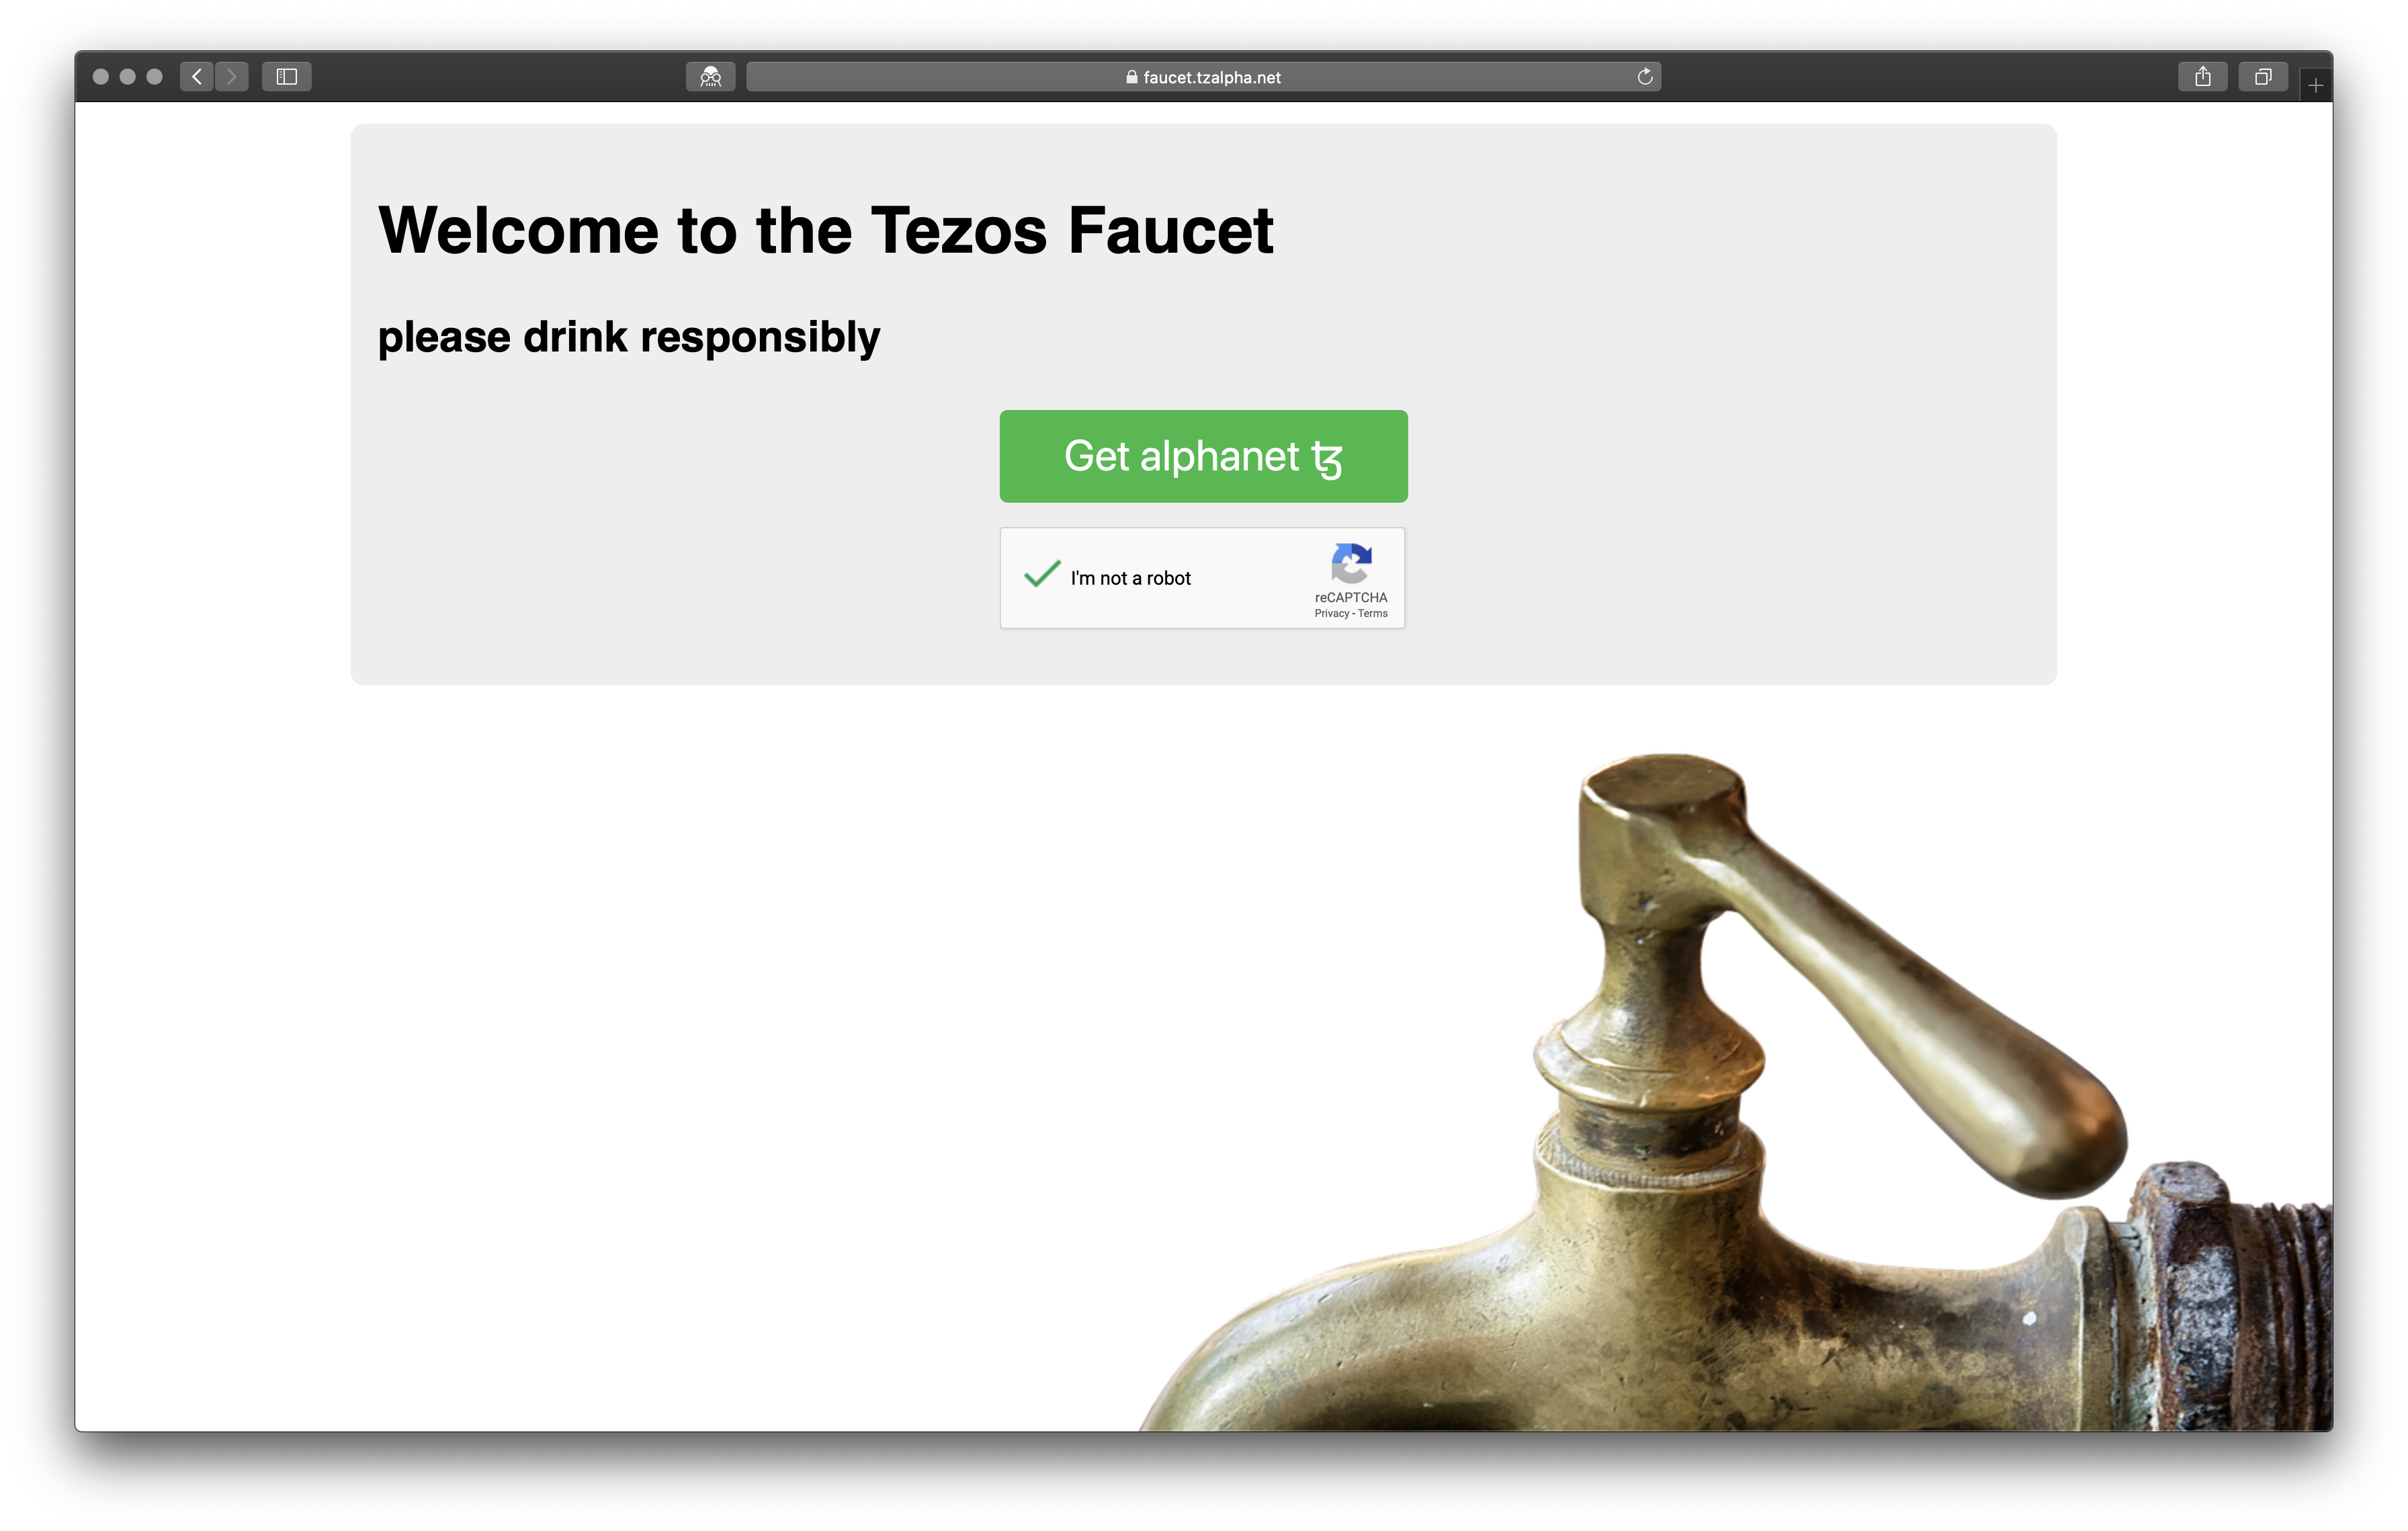
In order to interact with the Alphanet, it'd be nice to have some tez at our disposal. Thankfully there is a faucet available that we can use, here's how:
- Navigate to faucet
- Convince the website that you're not a robot (captcha)
- Download a JSON wallet
- Import/Activate the wallet via Granary's client
Activating the faucet wallet
In order to use our Alphanet wallet, we have to activate it first.
Replace
tz1__xxxxxxxxx__.jsonwith your real downloaded wallet from the faucet.More activations on Alphanet can be found here.
granary client - activate account alice with $PWD/tz1__xxxxxxxxx__.json

Additionally, you can see your activation operation included in the Alphanet at TzScan. You can see the result of the activation operation above here and the wallet itself here.
Please note that the links above are only valid until the next Alphanet reset.
Testing our wallet for the first time
In order to verify that we have activated our wallet correctly, we can try to obtain it's balance:
granary client - get balance for alice

Deploying a Michelson contract to Alphanet
For the sake of simplicity, we will only implement a very straightforward Michelson contract. It will store an int and it will accept an int as it's parameter too. All it does, is save the input parameter that we'll pass via a transaction into it's storage.
If you'd like to learn more about Michelson, or it's derivatives, check out LIGO.
int_storage.tz
parameter int;
storage int;
code {CAR; NIL operation; PAIR};
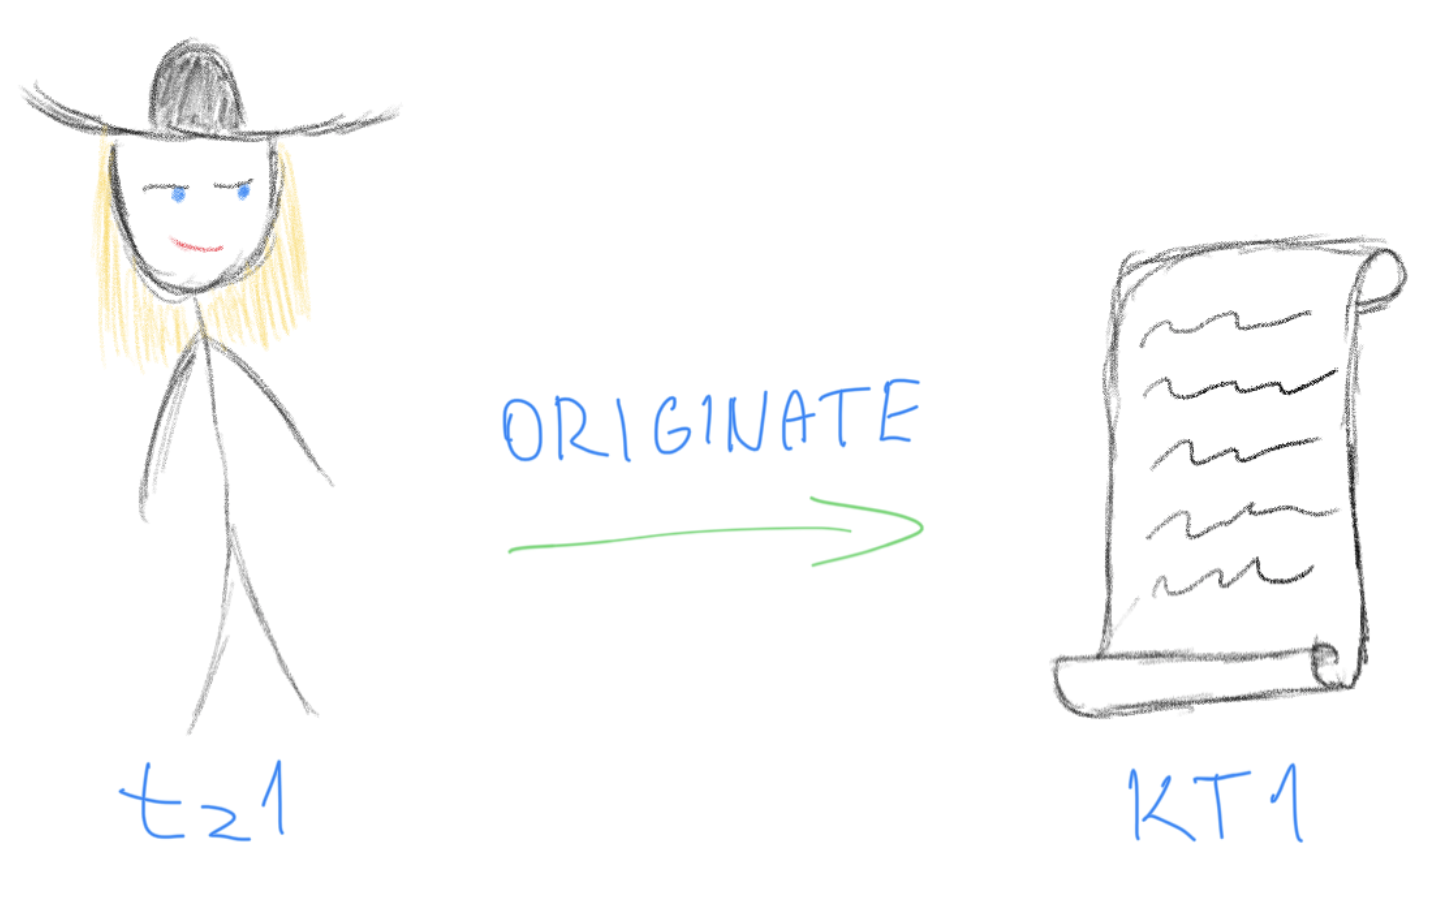
Deploying a contract
Deployment of a smart contract is called an origination. It represents a creation of an account, that has a certain script (code) attached to it - our smart contract. Contracts created through origination have an address starting with KT1..., as opposed to implicit accounts with addresses of 'tz1..` (or tz2, tz3, ..).
Let's originate our contract with Granary's client, using 0 as the initial storage value:
granary client - originate contract int_storage for alice transferring 0 from alice running $PWD/int_storage.tz --init 0 --dry-run
Notice that we use
--dry-runin our command, this only simulates the desired operation rather than injecting it into the network right away.
However, we will notice that we get an error regarding an insufficient burn cap.

If you'd like to learn more about gas & fees, please check out the official docs for the current protocol version.
If we adjust the command to include the burn cap and remove the --dry-run, the origination works as expected:
granary client - originate contract int_storage for alice transferring 0 from alice running $PWD/int_storage.tz --init 0 --burn-cap 0.295
That's it! You've originated a new smart contract on Alphanet - the origination operation can be seen here and the resulting originated account here.